
7 min read
How to Make a Receipt in Google Docs
A step-by-step guide to making a reusable receipt in Google Docs with a table for line items and totals, and tips for saving it as a template.
- How do I make a receipt in Google Docs?
- Receipt Caker offers the same itemized layout with the totals and tax calculated for you, but in Google Docs you add a header with your business name, receipt number, and date, then insert a table with columns for description, quantity, unit price, and line total. Fill in the items, add subtotal, tax, and total rows, and download it as a PDF, doing the math by hand.
Start with the header
Open a blank Google Docs document and give it a title so it is easy to find later. At the top of the page, type your business name in a large, bold style, followed by your address and a contact detail on the lines below. On the right, add two short labelled lines for a unique receipt number and the date of the sale.
Because Google Docs saves automatically to the cloud, your receipt draft is never lost and can be opened from any device. Keep the header simple and leave a blank line before the item table so the finished receipt reads clearly when printed or exported.
Use a table for the line items
The cleanest way to itemize in Google Docs is a table. Go to Insert, choose Table, and create four columns: Description, Quantity, Unit Price, and Line Total. Add as many rows as you need for the items, plus a header row you can bold. A table keeps every price aligned in its column, which is what makes a receipt look orderly rather than like a paragraph of numbers.
Google Docs tables do not calculate for you, so you will type each line total yourself after multiplying quantity by unit price. Double-check the arithmetic as you go, because unlike a spreadsheet there is no formula catching mistakes. Right-align the price and total columns so the decimal points line up down the page.
The catch: Docs won't do the maths
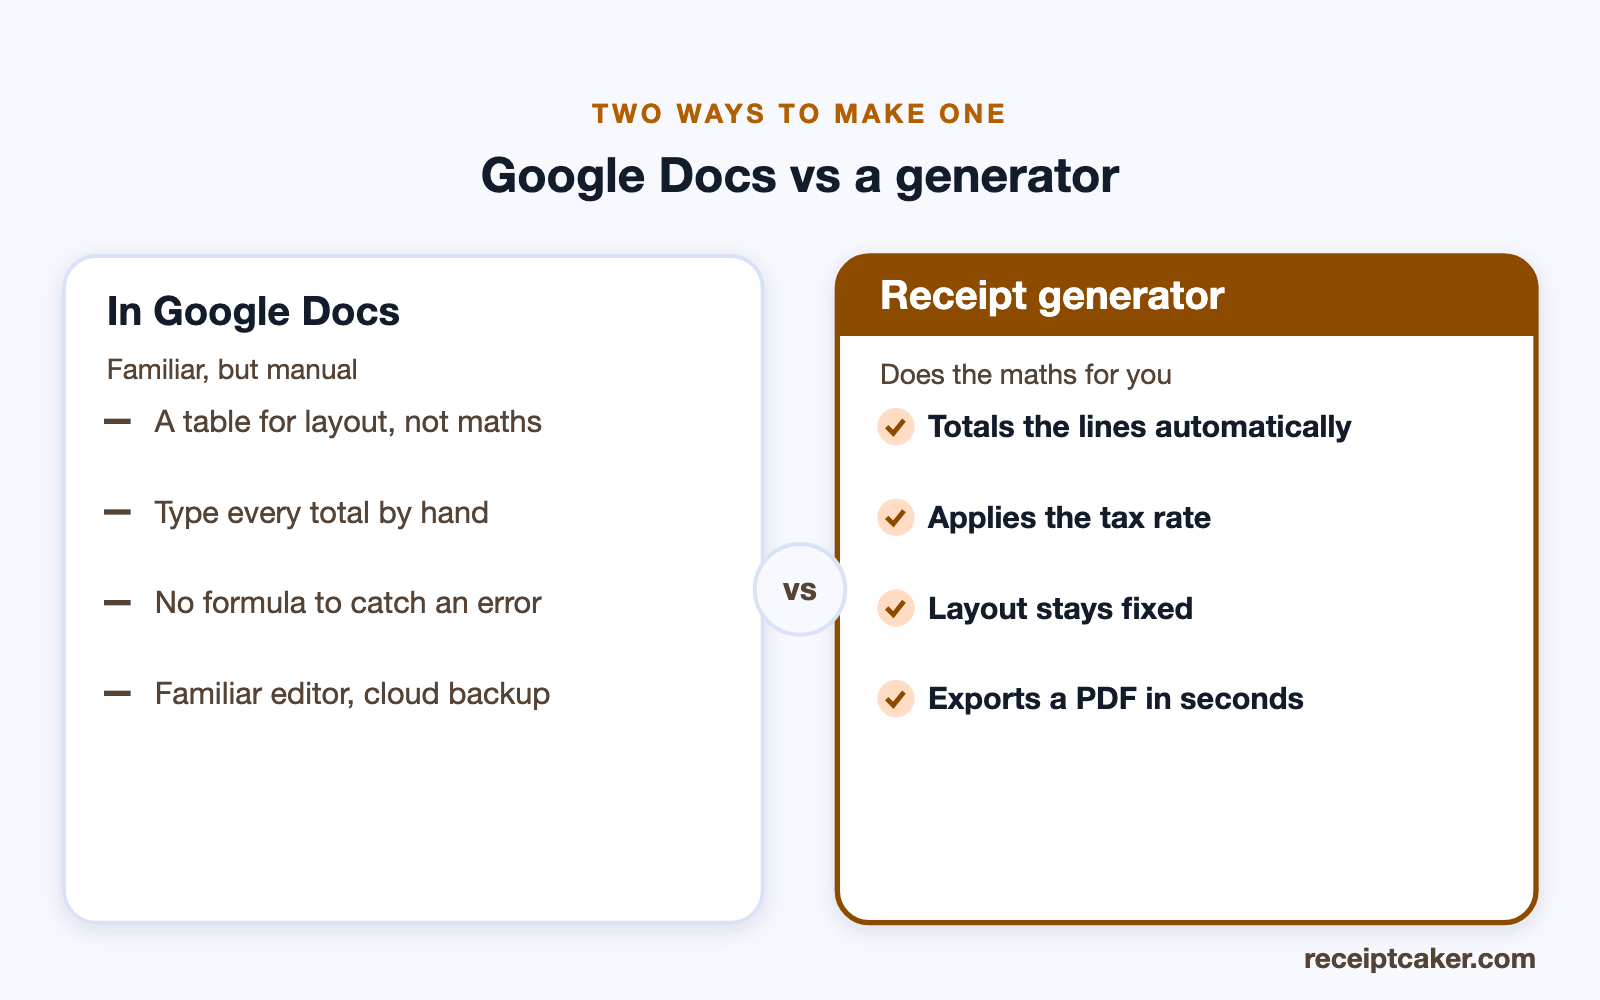
The one real limitation is that a Google Docs table is for layout, not calculation — it will not add up a column or apply a tax rate. Every line total, the subtotal, the tax, and the grand total are figures you work out yourself and type in, and there is no formula to warn you if one is wrong. On a short receipt that is a minor chore; on a long one it is a genuine source of error, so recompute the total once before you send.
If you want the maths done for you but like staying inside Google, the answer is Google Sheets rather than Docs — you would build the receipt there with SUM and rate formulas, then export to PDF. Docs is the right choice when you value a familiar word-processor layout and full control of the wording, and are happy to be the calculator yourself.
Reuse it from your template gallery
Because Docs saves to the cloud, it is easy to turn your finished receipt into a reusable base. Make a copy for each new sale through File and Make a Copy, so the original stays clean as your master, and fill only the item, quantity, and price details each time while leaving the header and layout untouched. That keeps every receipt you issue looking consistent.
If you use Google Workspace, you can go a step further and save the document to your organisation's template gallery, giving you one-click reuse without hunting for the master file. Either way, number the receipts in sequence as you go, so your cloud folder of PDFs stays ordered and any gap is obvious.
Add the totals and tax
Beneath the item table, add rows for the subtotal, tax, and grand total. Sum the line totals to get the subtotal, calculate tax by multiplying the subtotal by your rate as a decimal, and add the two for the total the customer pays. Keep tax on its own labelled line showing the rate, since it should be itemized rather than buried in the prices.
You can place these totals in the last few rows of the same table or in a small separate table aligned to the right. Either way, label each figure clearly. Because the math is manual here, it is worth recomputing the total once more before you send the receipt to be sure everything reconciles.
Style it to look the part
A receipt should read cleanly, so spend a moment on presentation. Bold the business name at the top and the grand total at the bottom so the eye lands on them first, right-align the price and line-total columns so the decimals line up, and keep consistent spacing between the header, the table, and the totals. A little white space makes the difference between a document that looks issued by a business and one that looks thrown together.
Resist over-styling. Heavy colours, borders, and fonts make a receipt harder to read and slower to print, and a receipt is a functional record, not a flyer. Plain, aligned, and legible beats decorated every time — the goal is that a customer, and later an accountant, can scan it and find every figure without effort.
Send a PDF, not the editable link
When it comes to handing the receipt over, always export a PDF rather than sharing the live Google Docs link. Use File, then Download, and choose PDF Document: the result looks identical on any device and cannot be altered by the recipient. Sharing the editable document instead lets anyone with the link change the figures, intentionally or by accident, and risks the formatting shifting on their screen.
Keep the Docs file as your private master for edits and reissues, and treat the exported PDF as the official copy the customer receives. Saving each PDF by receipt number and date into a cloud folder means your records build themselves into an ordered, searchable set as you trade.
Save a reusable template and export
Once the layout looks right, turn the document into a reusable base. Make a copy through File, name it as your receipt template, and fill in a fresh copy for each sale so you never overwrite the master. If you use Google Docs a lot, you can also save it to your template gallery for one-click reuse.
To issue the receipt, use File, then Download, and choose PDF, so the customer receives a fixed document rather than an editable file. Google Docs is a fine choice when you want a familiar editor and full control of the wording, but it leaves the totals to you. Receipt Caker gives you the same itemized layout with automatic subtotal, tax, and total, and a clean PDF or image export in a minute.
Die Schritte auf einen Blick
- 1Add the business header. Type your business name, address, and contact at the top, and add lines for the receipt number and date.
- 2Insert a table for the items. Use Insert then Table to create columns for description, quantity, unit price, and line total.
- 3Fill in and total the lines. Enter each item and its line total, then add subtotal, tax, and grand total rows beneath the table.
- 4Style it cleanly. Bold the headers and totals, align prices to the right, and keep spacing consistent for a professional look.
- 5Save as a template and export PDF. Make a reusable copy, then use File then Download to export the finished receipt as a PDF.