8 min read
How to Organize Digital Receipts
A practical system for storing, naming, and backing up digital receipts so every purchase is easy to find when you need it for taxes, returns, or reimbursements.
- How do I organize digital receipts?
- Receipt Caker exports clean PDFs that slot straight into a simple system: keep every receipt in one cloud folder, name each file by date, seller, and amount, and sort them into a few broad categories by year. Save each one as a PDF so it stays readable, and back the folder up automatically, so recreated and original receipts live side by side in one searchable place.
Start with one home for everything
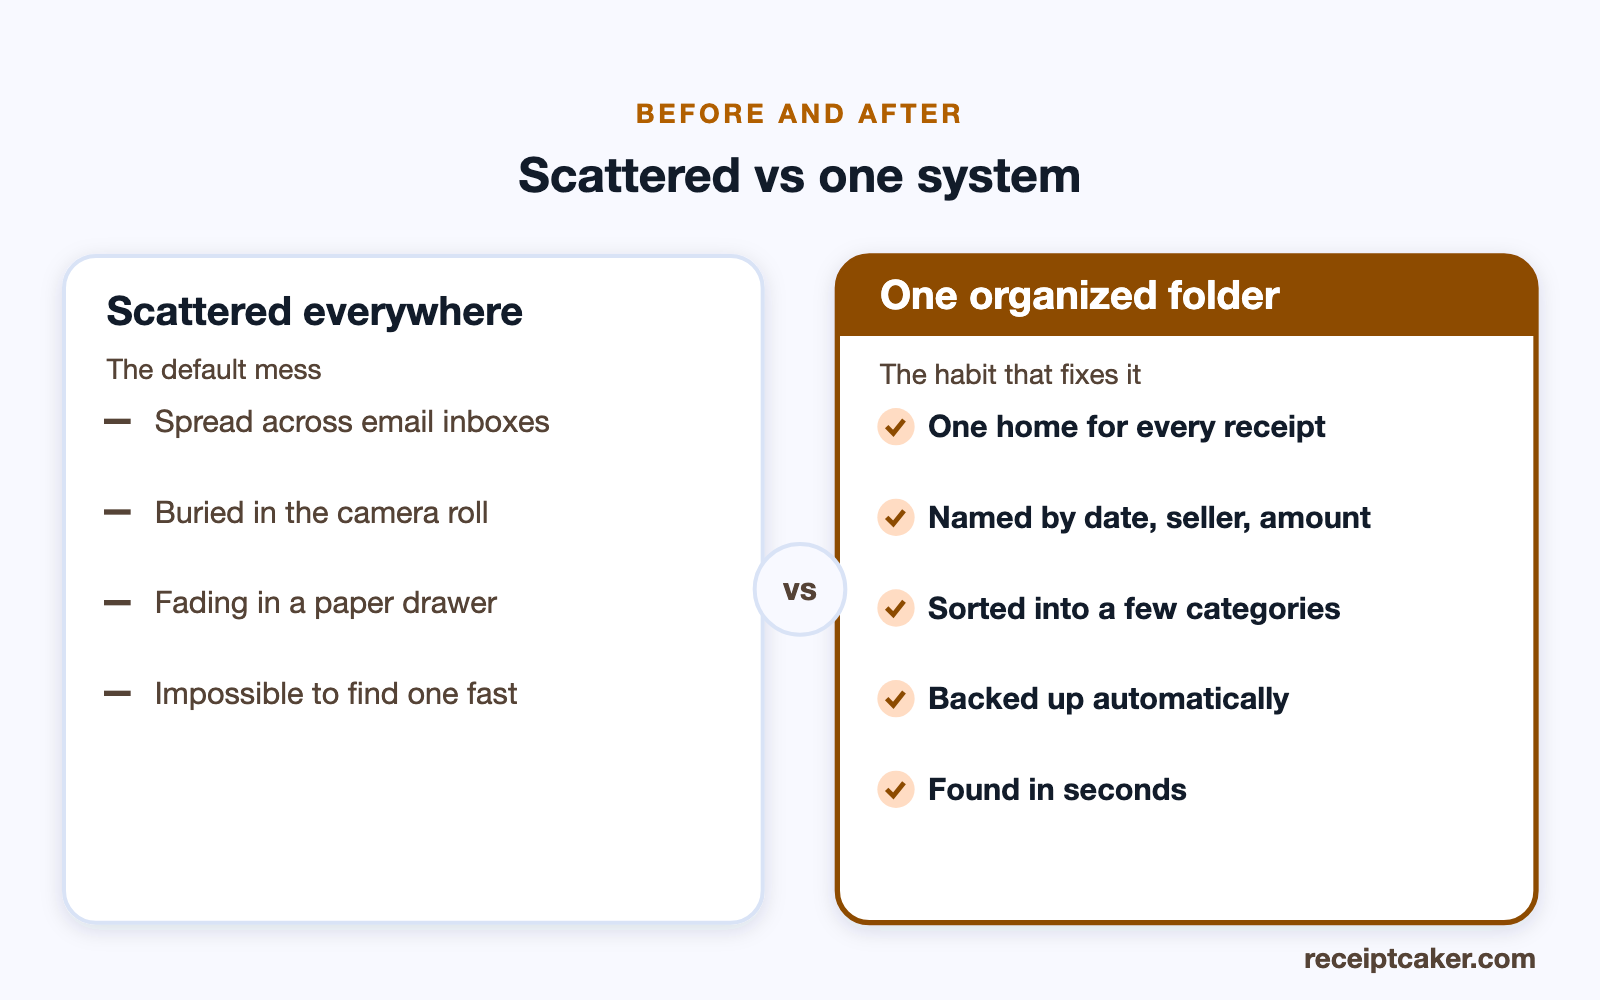
The single biggest cause of lost receipts is having five places to look: a card app, three email accounts, the camera roll, and a drawer of thermal paper. Pick one master store — a cloud drive folder or a dedicated receipts app — and route everything into it. When a receipt arrives by email, save the attachment there; when you get paper, photograph it and file the image the same day.
The point is not the tool but the discipline of a single destination. Once every receipt lands in the same place, searching, backing up, and reconciling against your bank all become one job instead of five. Set a standing reminder to clear stray receipts into the master folder each week so nothing lingers in an inbox.
Name files so they sort themselves
A good file name does the organizing for you. Lead with the date in year-month-day order so files list chronologically, then add the seller and the amount: 2026-02-14_northgate-supplies_84-50.pdf. Because the date comes first, your folder stays in order automatically, and because the seller and amount are in the name, a quick search finds any receipt in seconds.
Avoid vague names like scan_001 or IMG_4821. They tell you nothing and force you to open each file to identify it. Spending ten extra seconds naming a receipt when you file it saves minutes of hunting later, especially when an accountant or tax authority asks for a specific purchase.
Use broad categories, not a folder per vendor
It is tempting to make a folder for every store, but that creates dozens of near-empty folders and slows you down. Instead, sort by year at the top level, then a small set of categories inside — business expenses, medical, warranties and big purchases, and personal. Most people need no more than five or six buckets to cover everything.
Broad categories map neatly onto how you will actually use the receipts: a tax deduction, an insurance claim, a warranty return. When a category grows unwieldy, split it, but resist over-engineering. A shallow structure you maintain beats a deep one you abandon after a month.
Capture each type as it arrives
Receipts reach you in three shapes, and each has a quick capture habit. An emailed receipt: save the attachment, or print-to-PDF the email, straight into the master folder. A paper slip: photograph it the same day, while you still remember the purchase, then bin the fading original once the copy is safe. An in-app or on-screen receipt: screenshot it, or use the app's own export if it has one.
The discipline is to capture at the moment the receipt appears, not to let it sit. A receipt caught the day it arrives is easy to name and file; one left for a month is a mystery you have to reconstruct. If you generate a receipt yourself, export it as a PDF and drop it into the same folder, so recreated and original receipts live side by side.
Set the system up for tax time
Organize with the year-end in mind and tax season stops being a scramble. Because your top level is the year and your categories map onto how you will claim — business, medical, warranties, personal — pulling the receipts for a deduction is a matter of opening one folder rather than trawling a shoebox. When an accountant or a tax authority asks for a specific purchase, a named, dated file turns up in seconds.
Keep the receipts long enough to matter. In the US the IRS can generally look back three years, so that is the safe minimum for anything you claim, and businesses should hold a documentary receipt for expenses above $75. Digital storage makes meeting those rules effortless: the files never fade, take no space, and a whole year exports in one click if it is ever requested.
Search is your real index
Folders keep things tidy, but search is what actually finds a receipt. This is why the naming convention matters so much: with the date, seller, and amount in every file name, typing any one of them into your cloud drive's search box surfaces the right receipt instantly, without you remembering which folder it lives in. A good name turns a folder of hundreds of files into a searchable database.
Many cloud drives go further and read the text inside a PDF, so even a receipt you named plainly can be found by a word printed on it. That is a bonus, not a substitute — a consistent file name is still the reliable index — but it means a well-kept folder answers 'where's that receipt from March?' in seconds rather than an afternoon.
Fitting recreated receipts into the system
Sometimes the receipt you need has faded to a blank slip or was never kept. For a genuine purchase you already made, you can recreate an accurate record — Receipt Caker rebuilds it as a clean PDF with the correct seller, date, item, and amount — and that file drops into the same folder, named the same way, as any original. The point of a single system is that a restored receipt and an original one sit side by side and are equally findable.
The line to hold is honesty: this restores documentation for a real transaction, never invents one that did not happen. Organized records are only worth keeping if they are true, so a recreated receipt should always match a purchase you can stand behind.
Standardize the format and back it up
Convert every receipt to PDF. Photos and screenshots are fine as captures, but a PDF prints consistently, keeps text readable, and will not surprise you with a format that some future app cannot open. Thermal-paper receipts fade within months, so scanning them to PDF is the only way to preserve them long term.
Finally, protect the store itself. Sync your master folder to a second cloud service or an external drive so a lost laptop or a deleted account never wipes your records. If you have lost a receipt for a genuine purchase, Receipt Caker lets you recreate an accurate PDF of that legitimate transaction, which then files into the same folder alongside your originals.
Die Schritte auf einen Blick
- 1Pick one home for every receipt. Choose a single cloud folder or app as the master store so receipts never scatter across email, phone, and desktop.
- 2Adopt a consistent file name. Name each file by date, seller, and amount — for example 2026-02-14_northgate-supplies_84-50.pdf — so it sorts and searches cleanly.
- 3Sort into a few broad folders. Group by year and a handful of categories such as business, medical, and warranties rather than a folder per vendor.
- 4Convert everything to PDF. Save photos, screenshots, and email receipts as PDFs so they stay readable and print consistently years later.
- 5Back up automatically. Sync the master folder to a second cloud service or drive so a lost phone never means lost records.